How to Grow Collard Greens: A Gardener’s Guide to a Lush, Nutritious Harvest

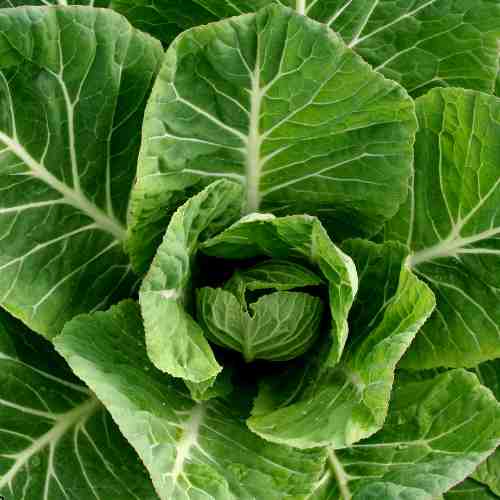
Collard greens are a hardy, nutritious, and easy-to-grow leafy green that thrives in cool and warm climates. With large, vitamin-rich leaves, they make a fantastic addition to any home garden. Plus, they’re incredibly resilient—able to withstand heat, light frost, and even poor soil conditions.
This guide will take you through everything you need to know about growing collards successfully, from planting to harvesting for a season-long supply of fresh, tender greens.
Why Grow Collard Greens?

Collard greens are low-maintenance, highly nutritious, and versatile in cooking. They are packed with vitamins A, C, and K, plus fiber and antioxidants that support overall health.
Benefits of Growing Collards
✅ Tolerant of Hot & Cold Weather – Grows well in spring, fall, and mild winters.
✅ Continuous Harvest – Pick leaves as needed, and the plant keeps producing.
✅ Pest-Resistant Compared to Other Greens – Less vulnerable than cabbage or kale.
✅ Improves Soil Health – Adds organic matter and nutrients to the soil.
✅ Delicious & Nutritious – Perfect for stir-fries, stews, and fresh salads!
Ready to grow your own? Let’s get started!
Choosing the Right Collard Variety
Collard greens come in several varieties, each with unique flavors and growing habits.
- 1. Traditional Large-Leaf Varieties (Great for tender, broad leaves)
‘Georgia Southern’ – Classic variety with large, dark green leaves.
‘Vates’ – Compact, slow-bolting, and cold-hardy. - 2. Heat-Tolerant Varieties (Best for warm climates)
‘Tiger Hybrid’ – Produces uniform, smooth leaves even in hot weather.
‘Champion’ – Heat-resistant and slow to bolt. - 3. Fast-Growing & Compact Varieties (Perfect for containers or small gardens)
‘Morris Heading’ – Produces dense, cabbage-like heads.
‘Top Bunch’ – Quick-growing with tender leaves.
🌱 Tip: If you live in a hot climate, choose heat-resistant varieties like ‘Champion’. For fall and winter crops, try ‘Vates’ for its frost tolerance.
When to Plant Collard Greens

Collards are a cool-season crop that thrives in both spring and fall.
Spring Planting (For early harvests)
- Start seeds indoors 6–8 weeks before the last frost.
- Transplant outdoors 2–3 weeks before the last frost, once soil is at least 50°F (10°C).
Fall Planting (For sweeter, frost-kissed greens)
- Sow seeds 6–8 weeks before the first frost for a fall harvest.
- Cooler temperatures enhance the flavor and reduce bitterness.
🌱 Pro Tip: Collards taste sweeter after a light frost—plan your harvest accordingly!
How to Plant Collard Greens
1. Choose the Right Location
- Full sun (at least 6 hours of sunlight daily) for optimal leaf growth.
- Well-draining, fertile soil with a pH of 6.0–7.5.
2. Prepare the Soil
- Mix in compost or aged manure to boost nutrients.
- Loosen soil to at least 12 inches deep for strong root development.
3. Planting Seeds or Transplants
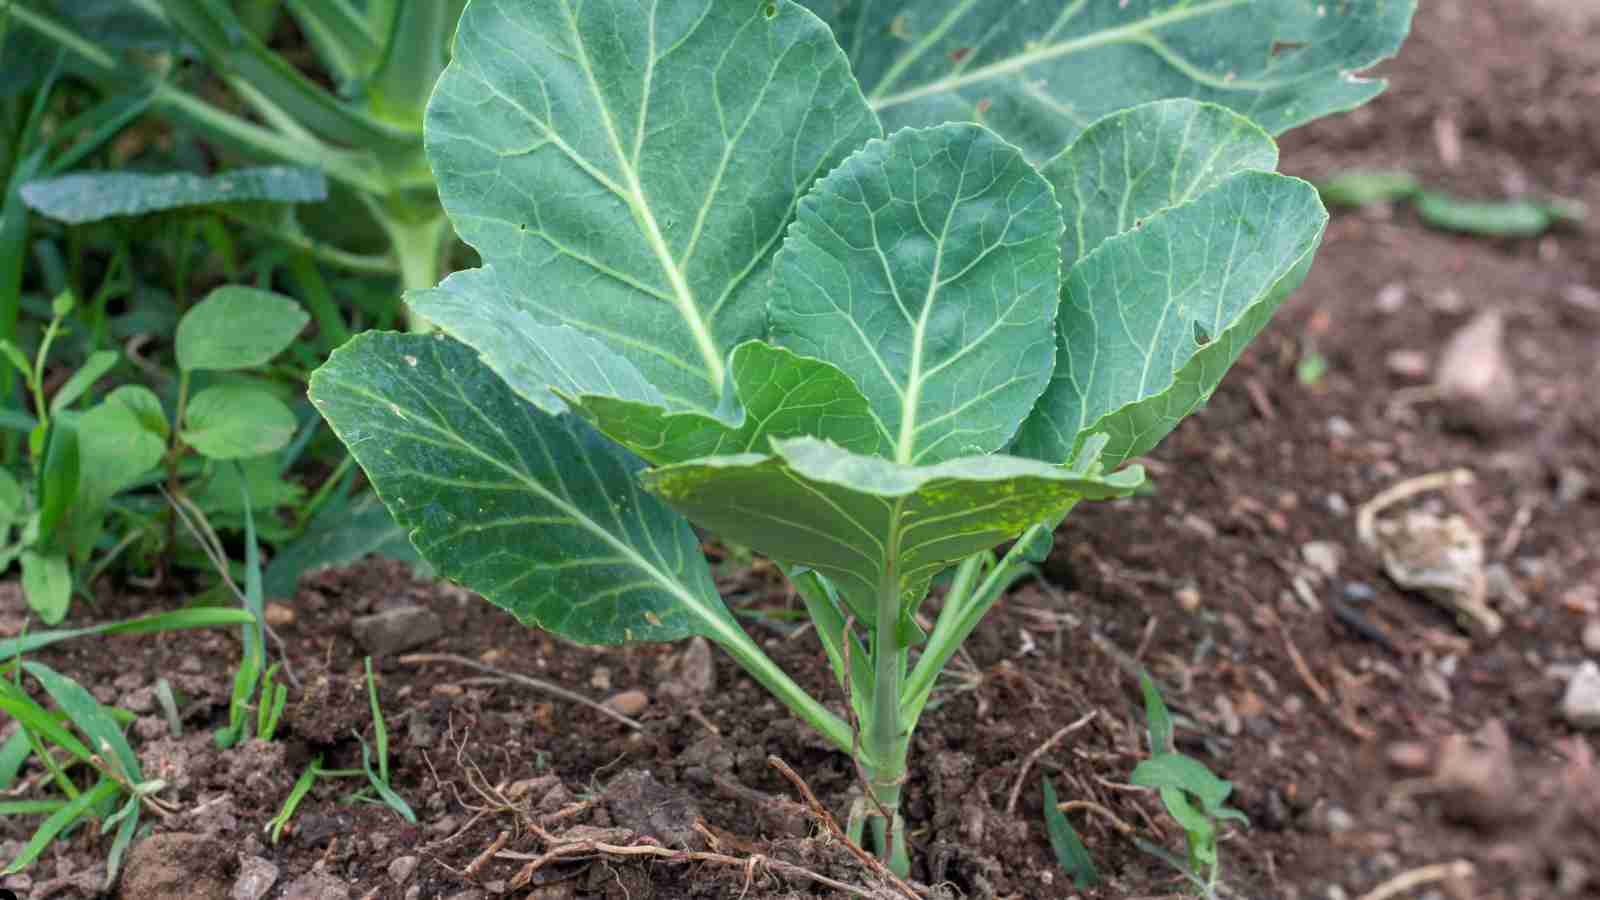
- Direct Sowing: Plant seeds ¼ inch deep and 6 inches apart.
- Transplants: Space seedlings 12–18 inches apart in rows 2 feet apart.
🚿 Water immediately after planting to help roots establish.
Caring for Collard Greens
1. Watering
- Keep soil consistently moist, aiming for 1–1.5 inches of water per week.
- Avoid overhead watering to prevent fungal diseases.
🌱 Tip: Mulch around plants to retain moisture and reduce weeds.
2. Fertilizing
- Feed every 3–4 weeks with a balanced fertilizer (such as 10-10-10).
- Organic options: Side-dress with compost or fish emulsion for steady growth.
3. Protecting Against Pests and Diseases
Common Pests:
- Cabbage worms & loopers – Pick by hand or use Bt spray.
- Aphids – Wash off with water or spray with neem oil.
- Flea beetles – Use floating row covers to protect young plants.
Disease Prevention:
- Rotate crops yearly to prevent soil-borne diseases.
- Avoid overcrowding to improve air circulation and reduce fungal risks.
When and How to Harvest Collard Greens

Collard greens are ready to harvest in 60–85 days.
1. Harvesting Individual Leaves (Best for continuous growth)
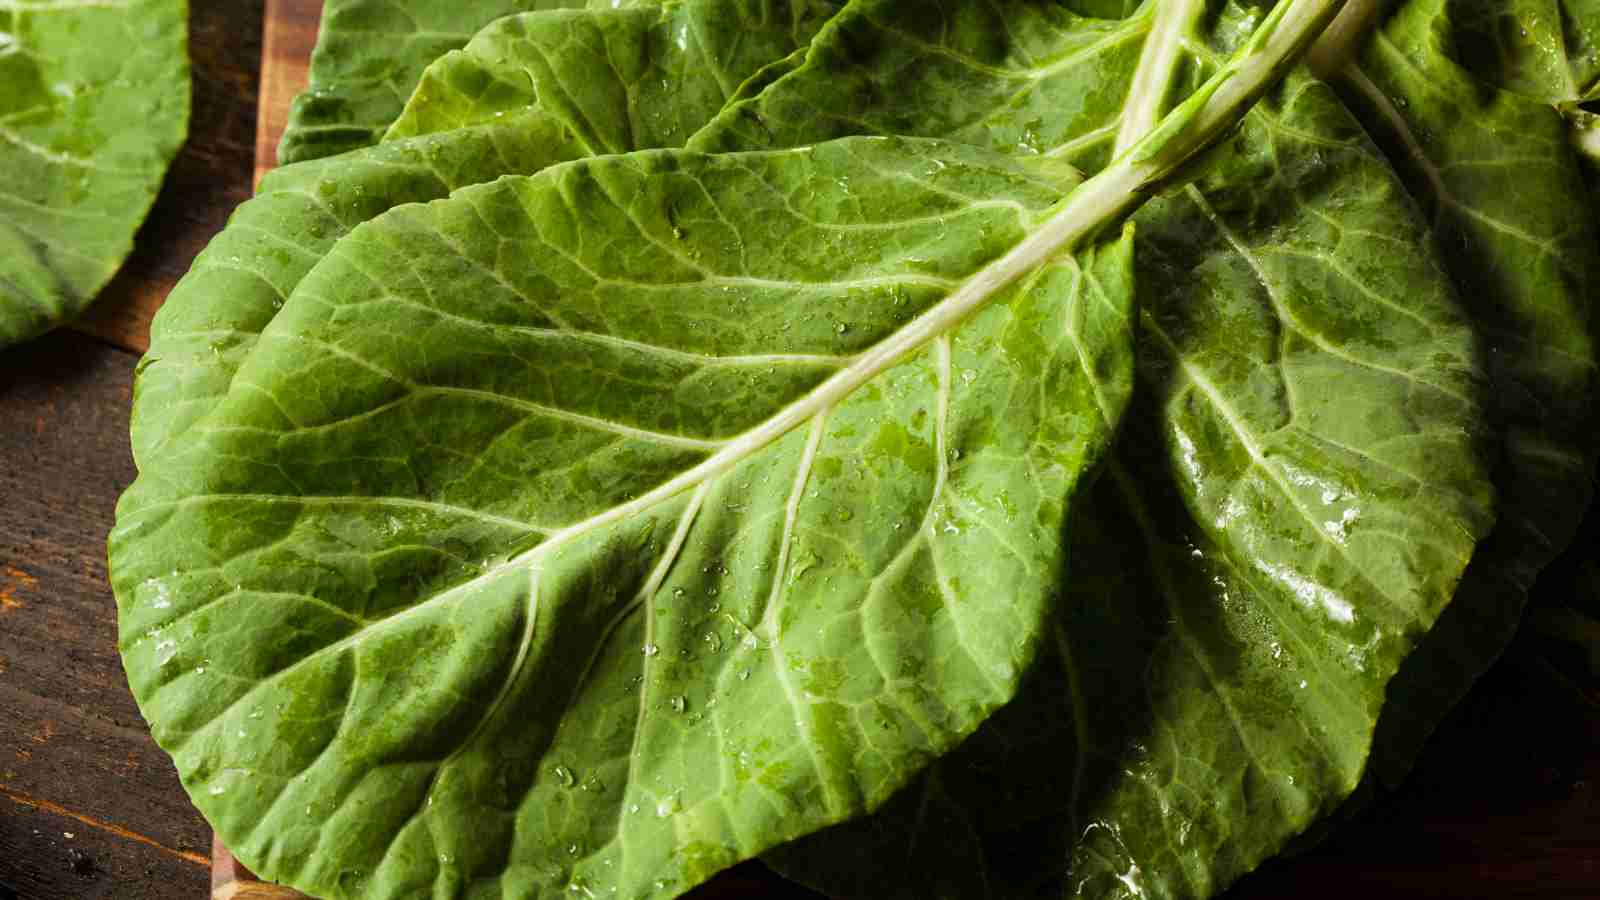
- Start picking outer leaves when they reach 8–10 inches long.
- Always leave the center leaves intact to keep the plant producing.
2. Harvesting the Whole Plant (For a large, single harvest)
- Cut the entire plant at the base, just above the soil.
- Ideal when growing for a fall or winter harvest.
🌱 Pro Tip: The cooler the weather, the sweeter the leaves—wait until after a light frost for peak flavor!
Storing and Using Collard Greens
🥬 Storage Tips:
Wrap fresh collards in a damp paper towel and store in the fridge for up to a week.
For long-term storage, blanch and freeze leaves.
🍽️ How to Use Homegrown Collards:
- Sauté with garlic and olive oil for a simple side dish.
- Add to soups, stews, and stir-fries.
- Use in wraps or smoothies for a nutrient boost.
Final Tips for a Thriving Collard Harvest
✅ Plant in cool weather – Thrives best in spring and fall.
✅ Water consistently – Dry spells can make leaves tough and bitter.
✅ Pick leaves regularly – Harvesting often encourages more growth.
✅ Mulch well – Helps retain moisture and prevent weeds.
✅ Watch for pests – Use organic pest control like neem oil or row covers.
Growing collard greens is simple, rewarding, and perfect for home gardens. Whether you’re a beginner or a seasoned gardener, you’ll love having fresh, homegrown greens right outside your door!
Partners and Sponsors
We are forever grateful to our partners and sponsors. Send an email to team @ strongecho.com and let’s see how we can grow each other’s impact!


