How to Grow Kohlrabi: The Quirky Vegetable That’s Easy to Love
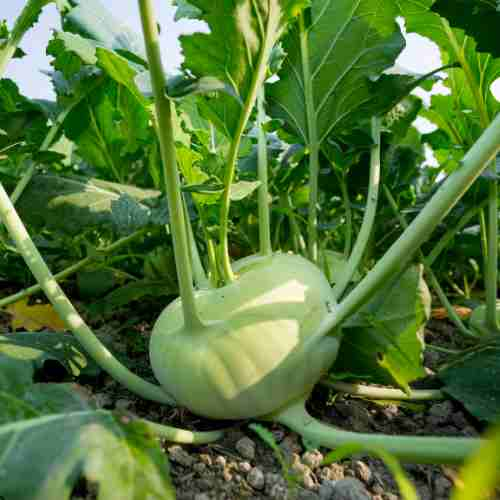
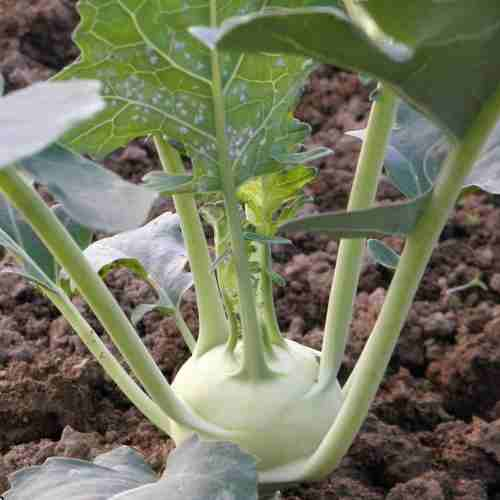
Kohlrabi might look like it came straight out of a sci-fi movie, but this quirky vegetable is the unsung hero of the garden.
With a bulbous shape and leaves that seem ready to take flight, kohlrabi is as fun to grow as it is to eat. Whether you’re a gardening newbie or a seasoned pro, this guide will show you how to grow kohlrabi so good, you’ll want to add it to every meal.
Get our Gardening Buddy and find veggies that fit your conditions best.
You Can Grow It!
Why Grow Kohlrabi?
Why not? Kohlrabi combines the crunch of a radish, the sweetness of a cabbage, and the versatility of a potato. Plus, it’s a total conversation starter. Imagine showing off a fresh kohlrabi to your friends and dropping the mic when you say, “Yes, I grew this alien-looking thing.”
Nutritionally, kohlrabi is a powerhouse, packed with vitamin C, fiber, and antioxidants. It’s also one of those vegetables that’s surprisingly easy to grow. If you’ve ever kept a houseplant alive, you can grow kohlrabi.
Step 1: Picking the Right Kohlrabi Variety
Kohlrabi comes in two main shades—green and purple. Both taste the same, so it’s really a matter of aesthetics. Here are some popular varieties:
- White Vienna: A classic, pale green variety with a mild, sweet flavor.
- Purple Vienna: The drama queen of the kohlrabi family, with deep purple skin that pops in the garden.
- Gigante: A large variety that stays tender even when it grows to the size of a soccer ball.
If you’re undecided, go for a mix. It’s like planting a rainbow in your garden.
Step 2: The Perfect Spot for Your Kohlrabi
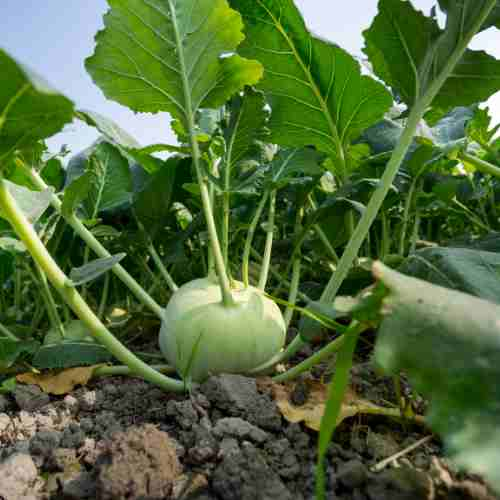
Kohlrabi loves the sun but isn’t a fan of extreme heat. Think of it as a spring and fall crop that thrives in the Goldilocks zone—not too hot, not too cold.
Pick a spot that gets at least 6 hours of sunlight a day. If your garden is in full shade, kohlrabi will survive but won’t be winning any beauty contests. If you’re short on space, it also grows happily in containers. Just make sure the pot is at least 12 inches deep to accommodate the bulb and roots.
Step 3: Soil Prep: Think Like a Kohlrabi
Kohlrabi is a low-maintenance diva. It likes loose, fertile soil with good drainage, so start with some basic prep:
- Test the pH: Aim for slightly acidic to neutral soil (6.0–7.5). If your soil is out of whack, don’t panic—adding lime or sulfur can help adjust the pH.
- Amend the soil: Mix in compost or aged manure to provide nutrients and improve texture.
- Say no to clumps: Kohlrabi bulbs like to grow smooth, so remove rocks, clumps, or anything else that might get in their way.
Step 4: Planting Kohlrabi: Let the Games Begin
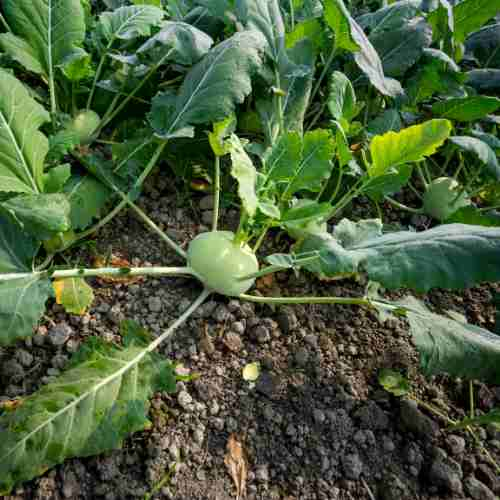
Timing is key when planting kohlrabi. For a spring harvest, sow seeds 2–4 weeks before your last frost date. For a fall harvest, aim for 6–8 weeks before the first frost. Kohlrabi thrives in cool weather, so don’t leave it baking in the summer sun like a wilted salad.
How to Plant Kohlrabi Seeds:
- Sow seeds about 1/4 inch deep and 4–6 inches apart in rows spaced 12 inches apart.
- Water gently but thoroughly to settle the soil.
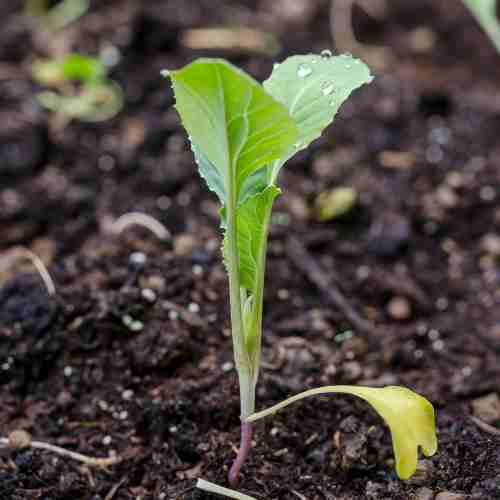
- Thin seedlings to 6–8 inches apart once they’re a couple of inches tall. Bonus: The thinnings make great additions to salads!
Step 5: Watering and Feeding: Keeping Kohlrabi Happy
Kohlrabi is like that friend who drinks exactly eight glasses of water a day—consistent hydration is key.
- Watering: Keep the soil evenly moist but not soggy. Think of it as Goldilocks gardening—just right.
- Fertilizing: Start with a balanced fertilizer (10-10-10 works well) when planting, and give it a boost mid-season with a side dressing of compost or organic fertilizer.
Step 6: Watch Out for Kohlrabi Pests and Problems
Even kohlrabi has its enemies. Here’s how to keep your crop safe:
- Cabbage worms: These little green munchers love kohlrabi leaves. Handpick them or use an organic insecticide.
- Aphids: Tiny but annoying. Blast them off with a strong stream of water or invite ladybugs to your garden.
- Root rot: Caused by overwatering or poor drainage. Avoid waterlogging your soil, and your kohlrabi will thank you.
Step 7: Harvest Time: The Moment of Glory
Kohlrabi matures quickly—usually in about 45–60 days after planting. Here’s how to know when it’s ready:
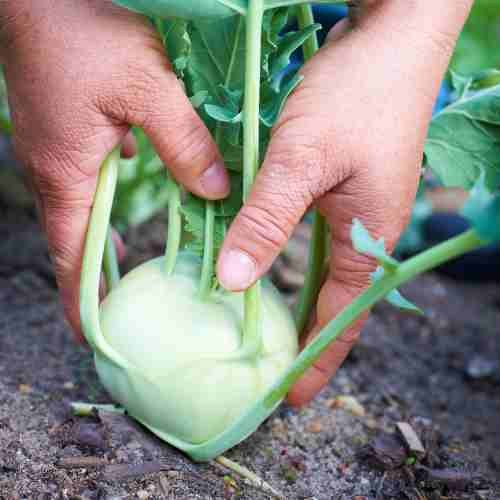
- Size: Bulbs should be 2–4 inches in diameter (roughly the size of a tennis ball). Bigger bulbs can get woody, so don’t procrastinate.
- Leaves: If the leaves are lush and green, it’s go-time!
To harvest, simply cut the bulb off at the base with a sharp knife. Leave the roots in the soil if you’re not replanting immediately—they’ll break down and enrich the soil.
Step 8: Storing and Eating Kohlrabi
Kohlrabi is surprisingly low-maintenance after harvest. Store it in the fridge for up to two weeks. If you’re blessed with an overabundance, peel and freeze the bulbs for future use.
Ways to Enjoy Kohlrabi:
- Slice it raw and dip it in hummus for a crunchy snack.
- Shred it into slaw for a fresh twist on a classic.
- Roast it with olive oil, garlic, and herbs for a caramelized, nutty flavor.
Final Thoughts: Growing Kohlrabi Is Easier Than It Looks
Kohlrabi might seem intimidating at first, but it’s really just a lovable oddball that thrives with a little attention. Once you’ve tasted your first homegrown kohlrabi, you’ll wonder why it took you so long to grow this gem.
So, grab your seeds, dig into the dirt, and get ready for a harvest that’s out of this world. Your garden—and your taste buds—are about to level up!
Grow your own Kohlrabi at home!
Get our Gardening Buddy and find veggies that fit your conditions best.
You Can Grow It!
Partners and Sponsors
We are forever grateful to our partners and sponsors. Send an email to team @ strongecho.com and let’s see how we can grow each other’s impact!


